
Create your first page
You will create a new page, add a Row with two Widgets, and publish it live. When you finish, the page is reachable at /your-first-page and visible to visitors.
What you'll need
- A Backend account with editor or admin permission.
- 10 minutes.
1. Open Page Management
Click Page Management in the sidebar. The page list opens.
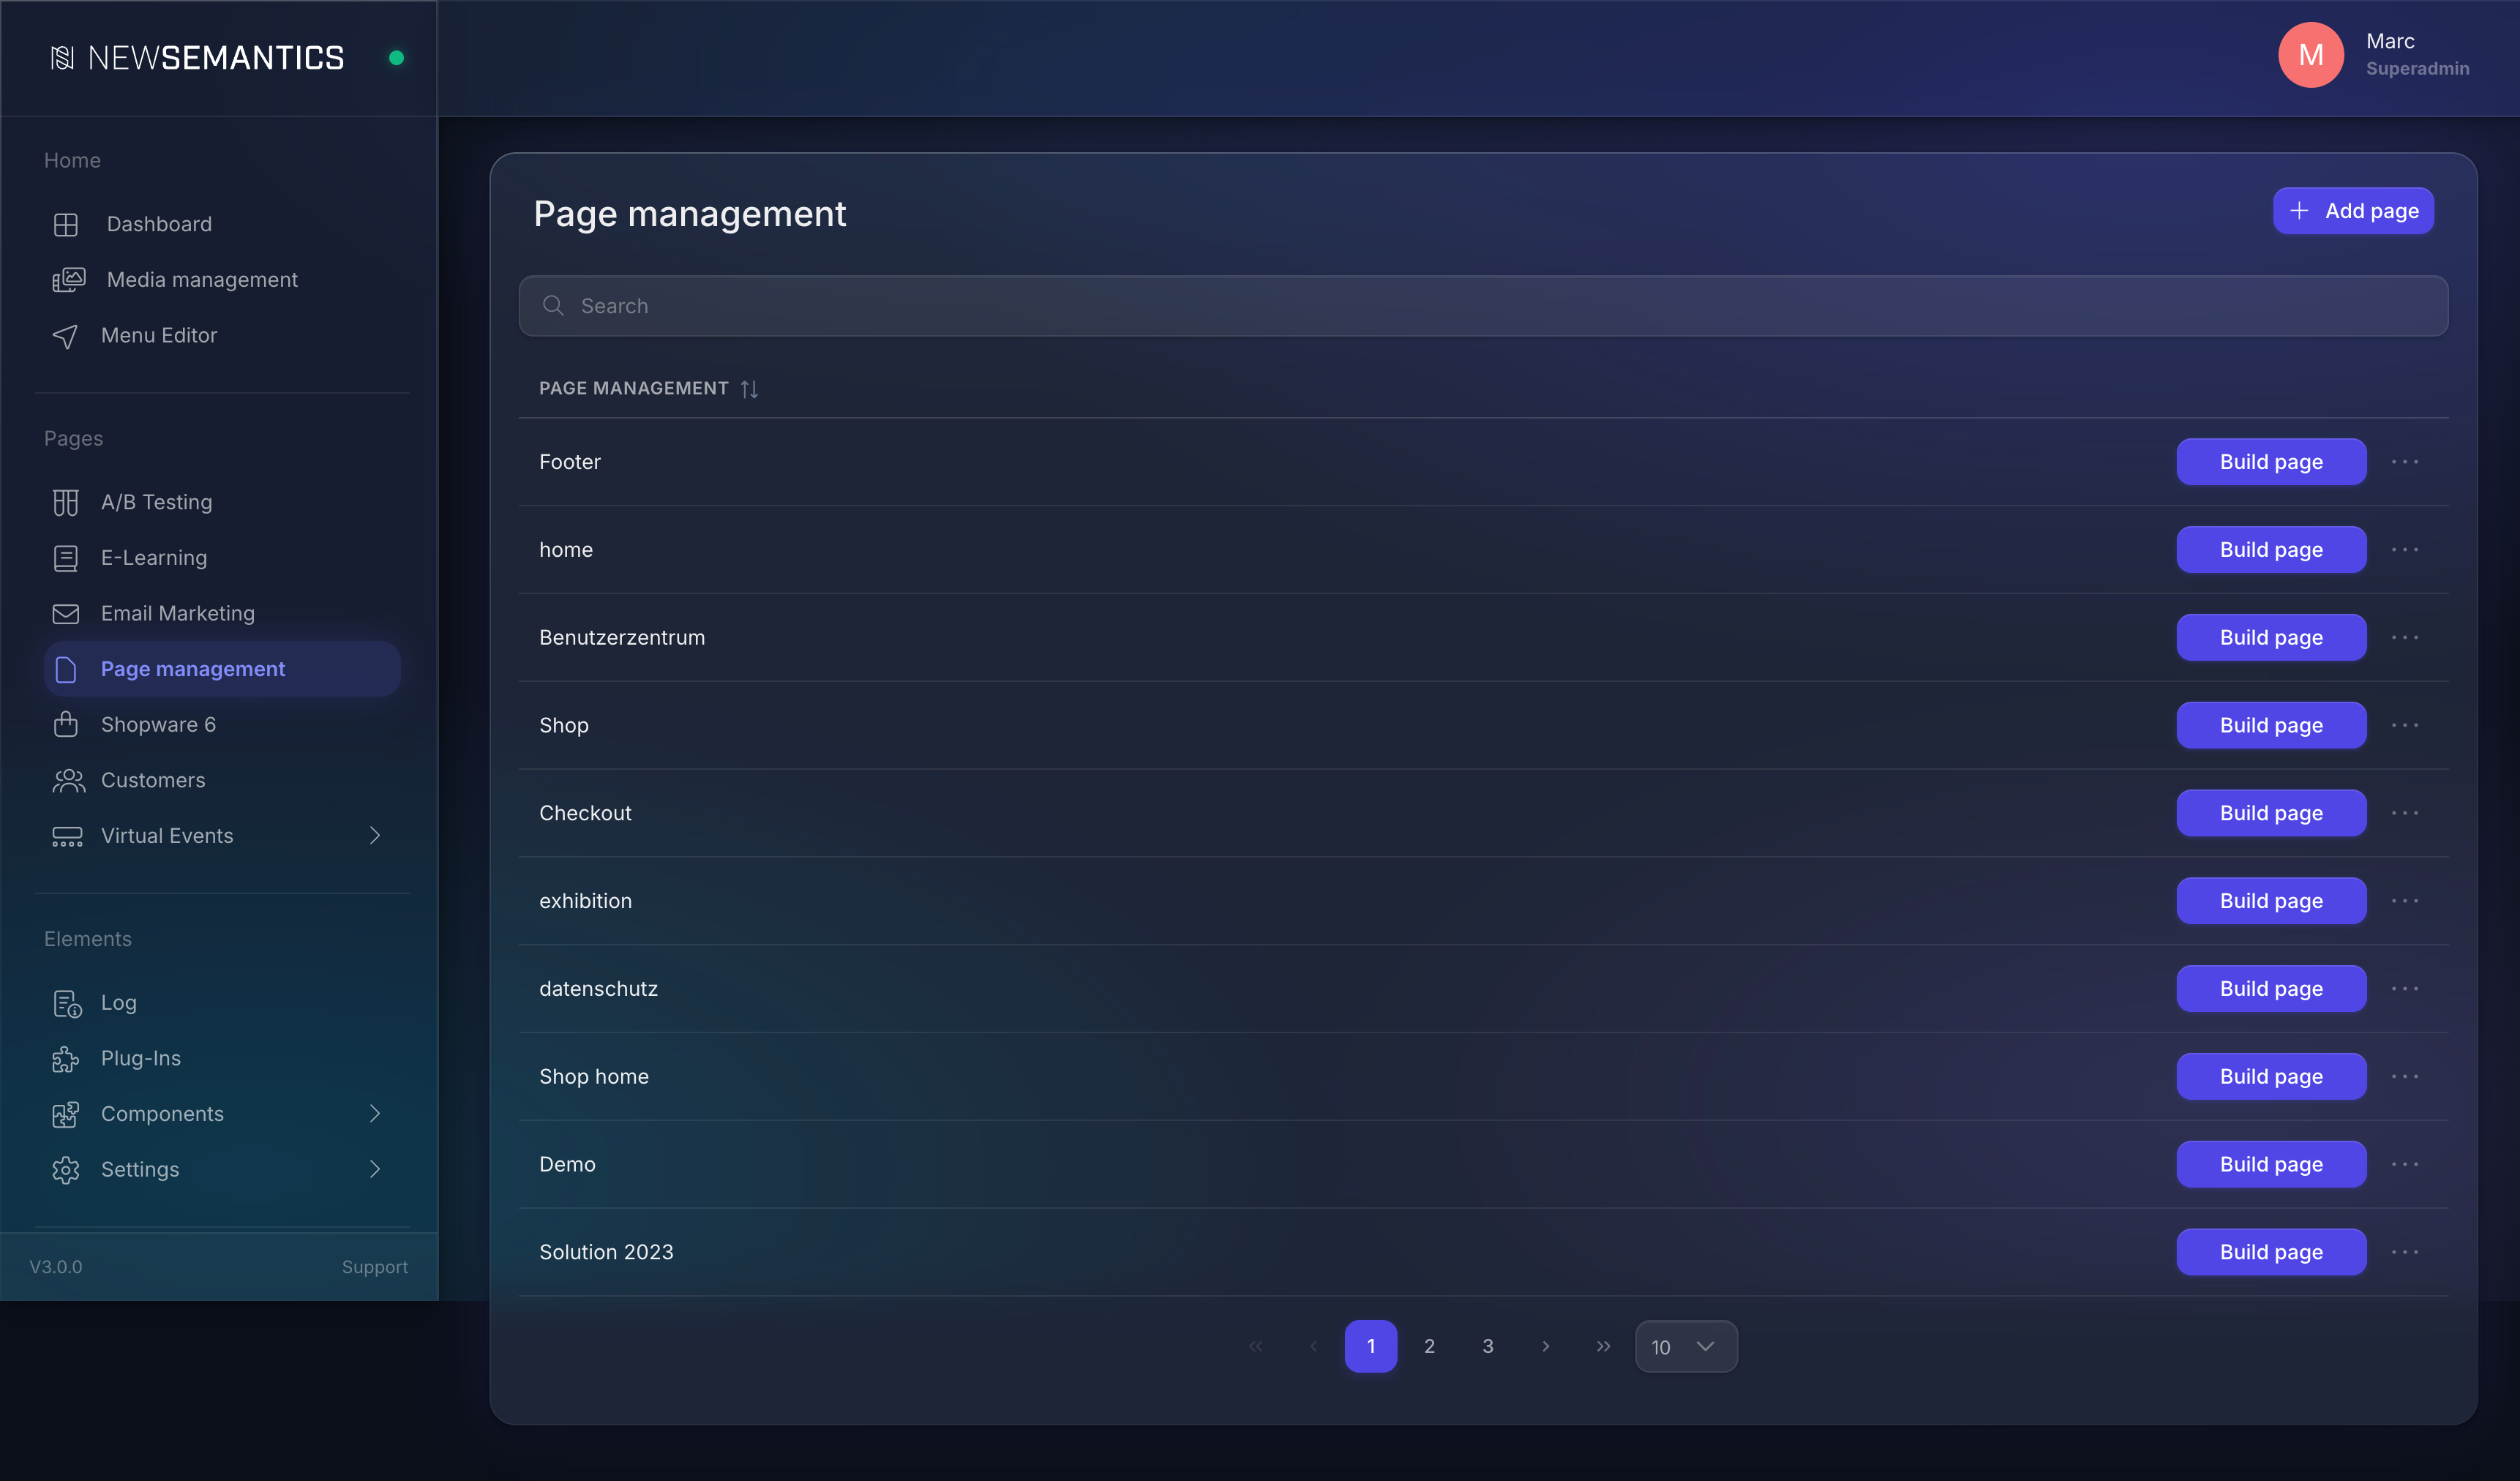
2. Add a new page
Click Add page in the top right. A modal opens. Fill in Title and Identifier (the latter becomes the URL slug), then click Save.
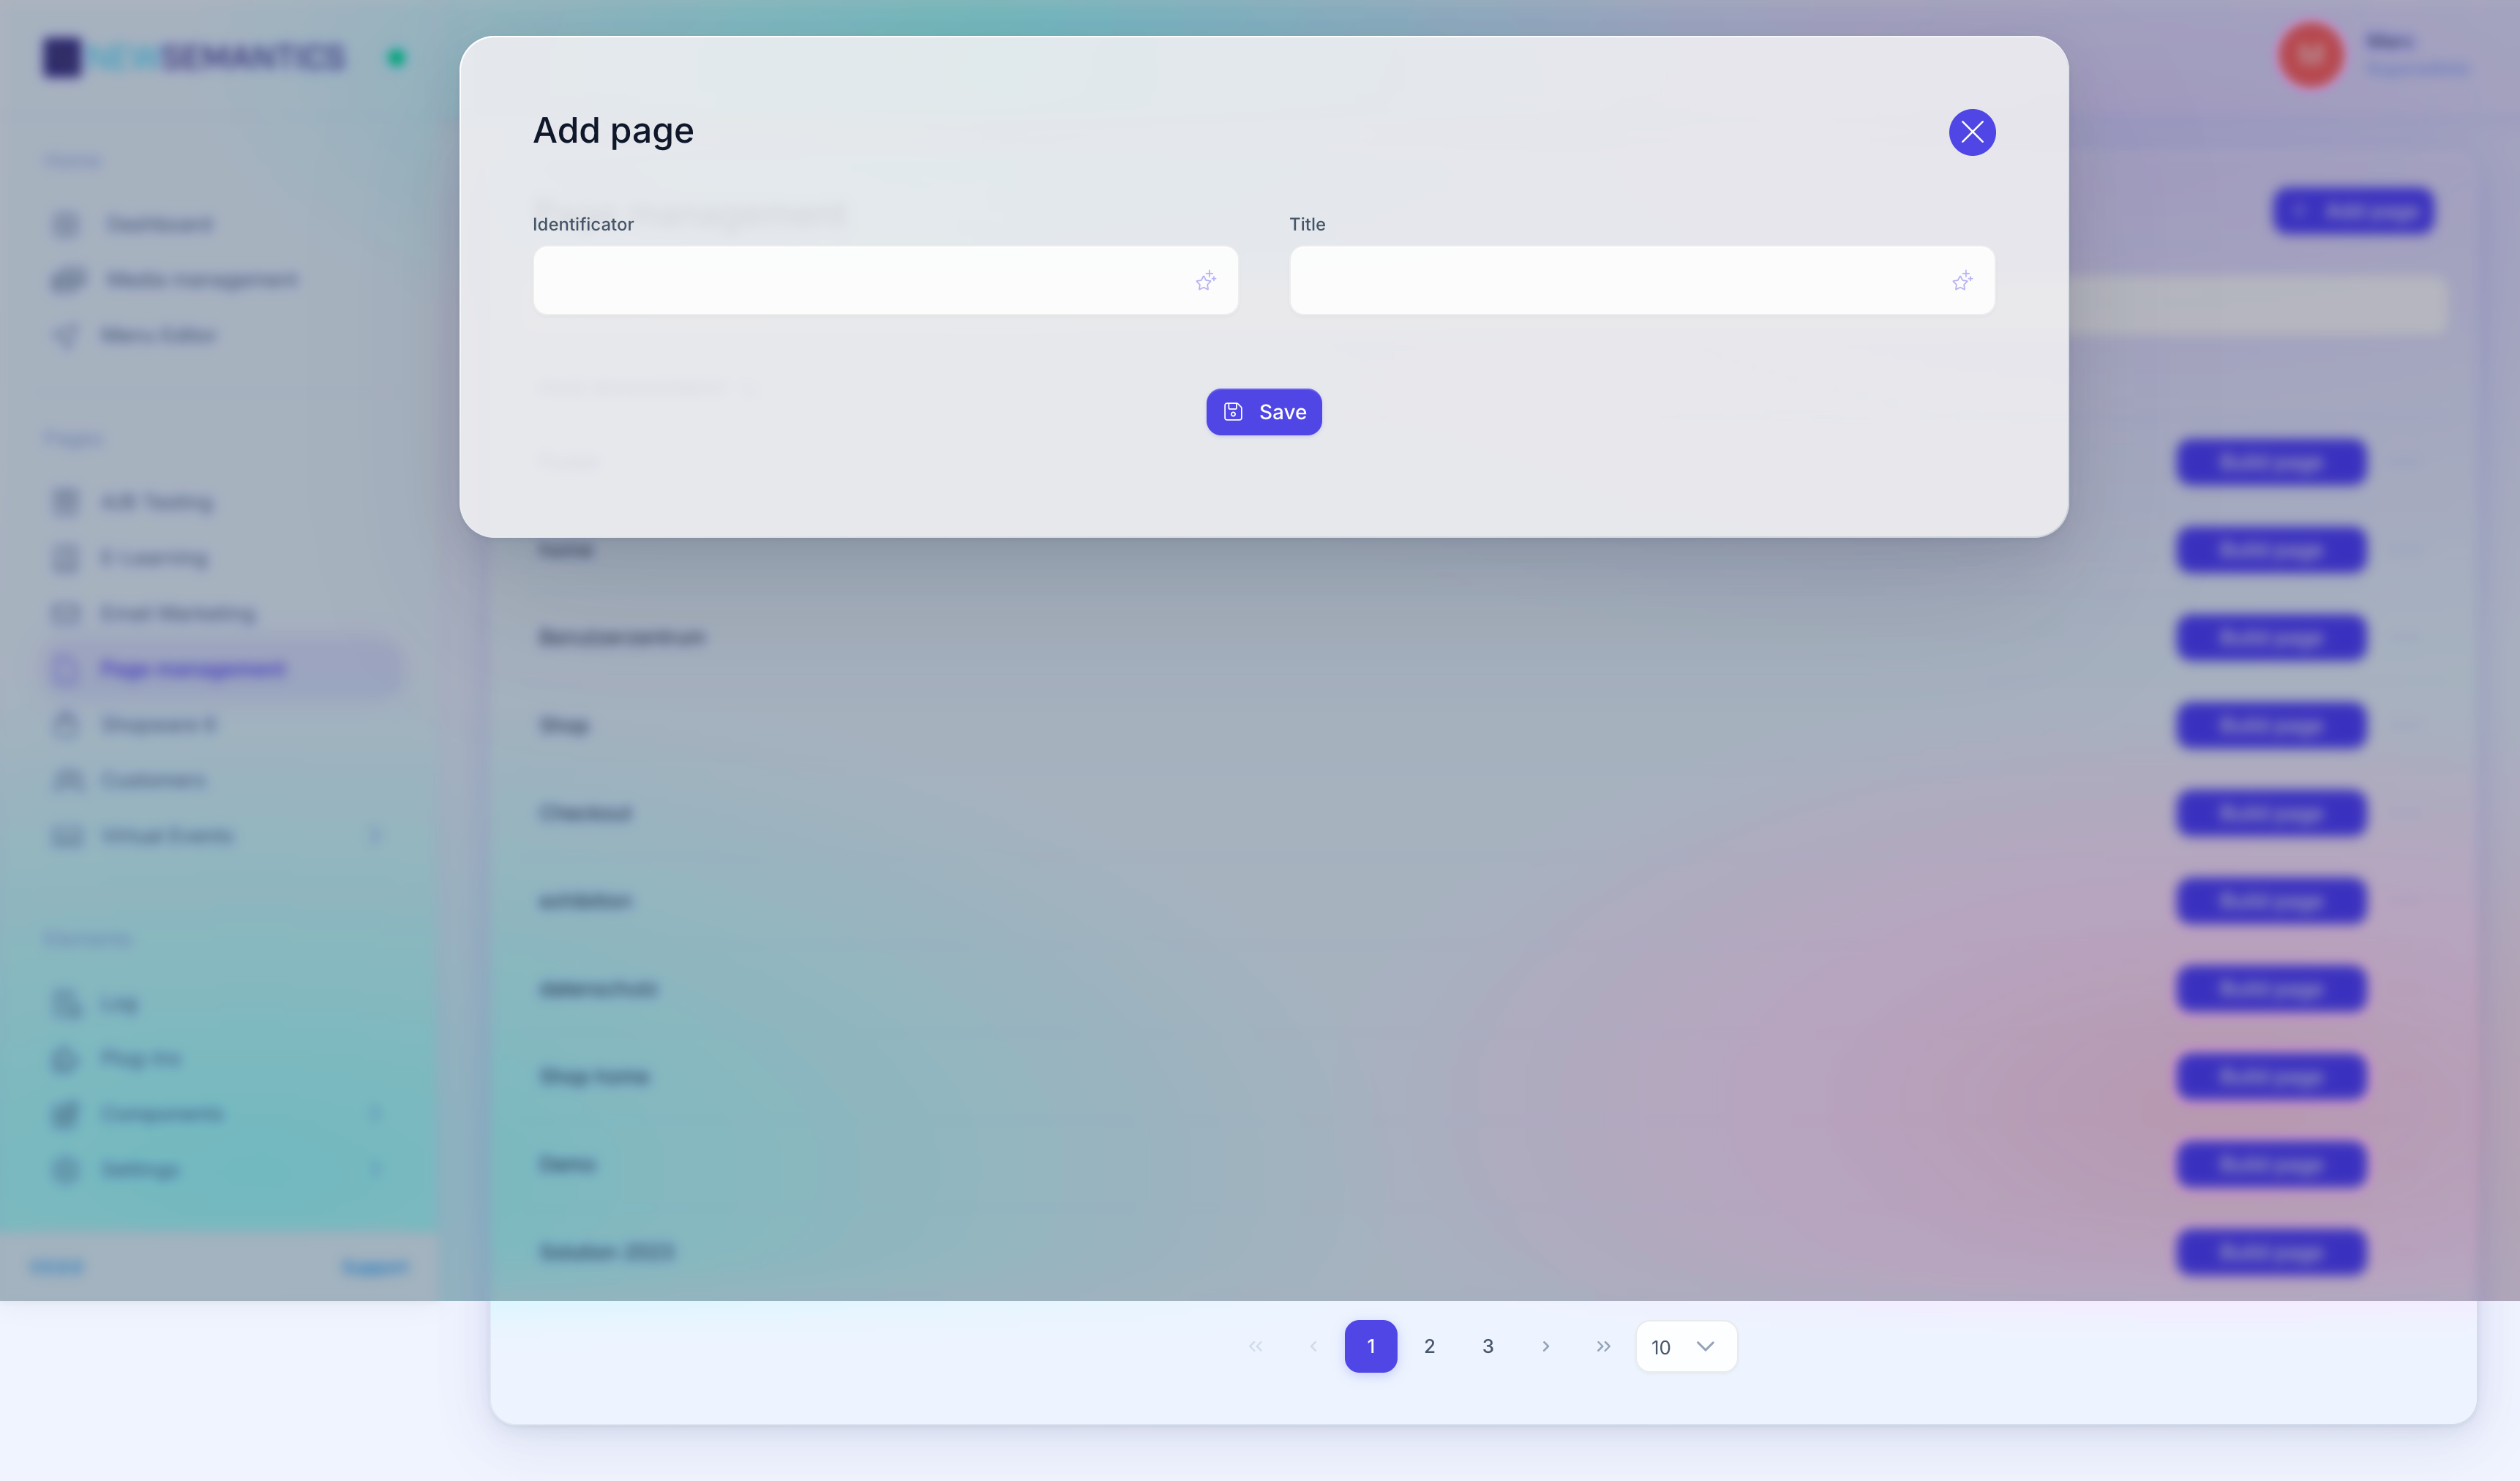
URL slug rules
The slug uses lowercase letters, digits, and hyphens only. Avoid umlauts, spaces, and special characters — they break in URLs. If you type Über uns in the title, set the slug to ueber-uns manually.
3. Open the Pagebuilder
The new page appears at the top of the list. Click Build page on its row. The Pagebuilder opens with an empty page.
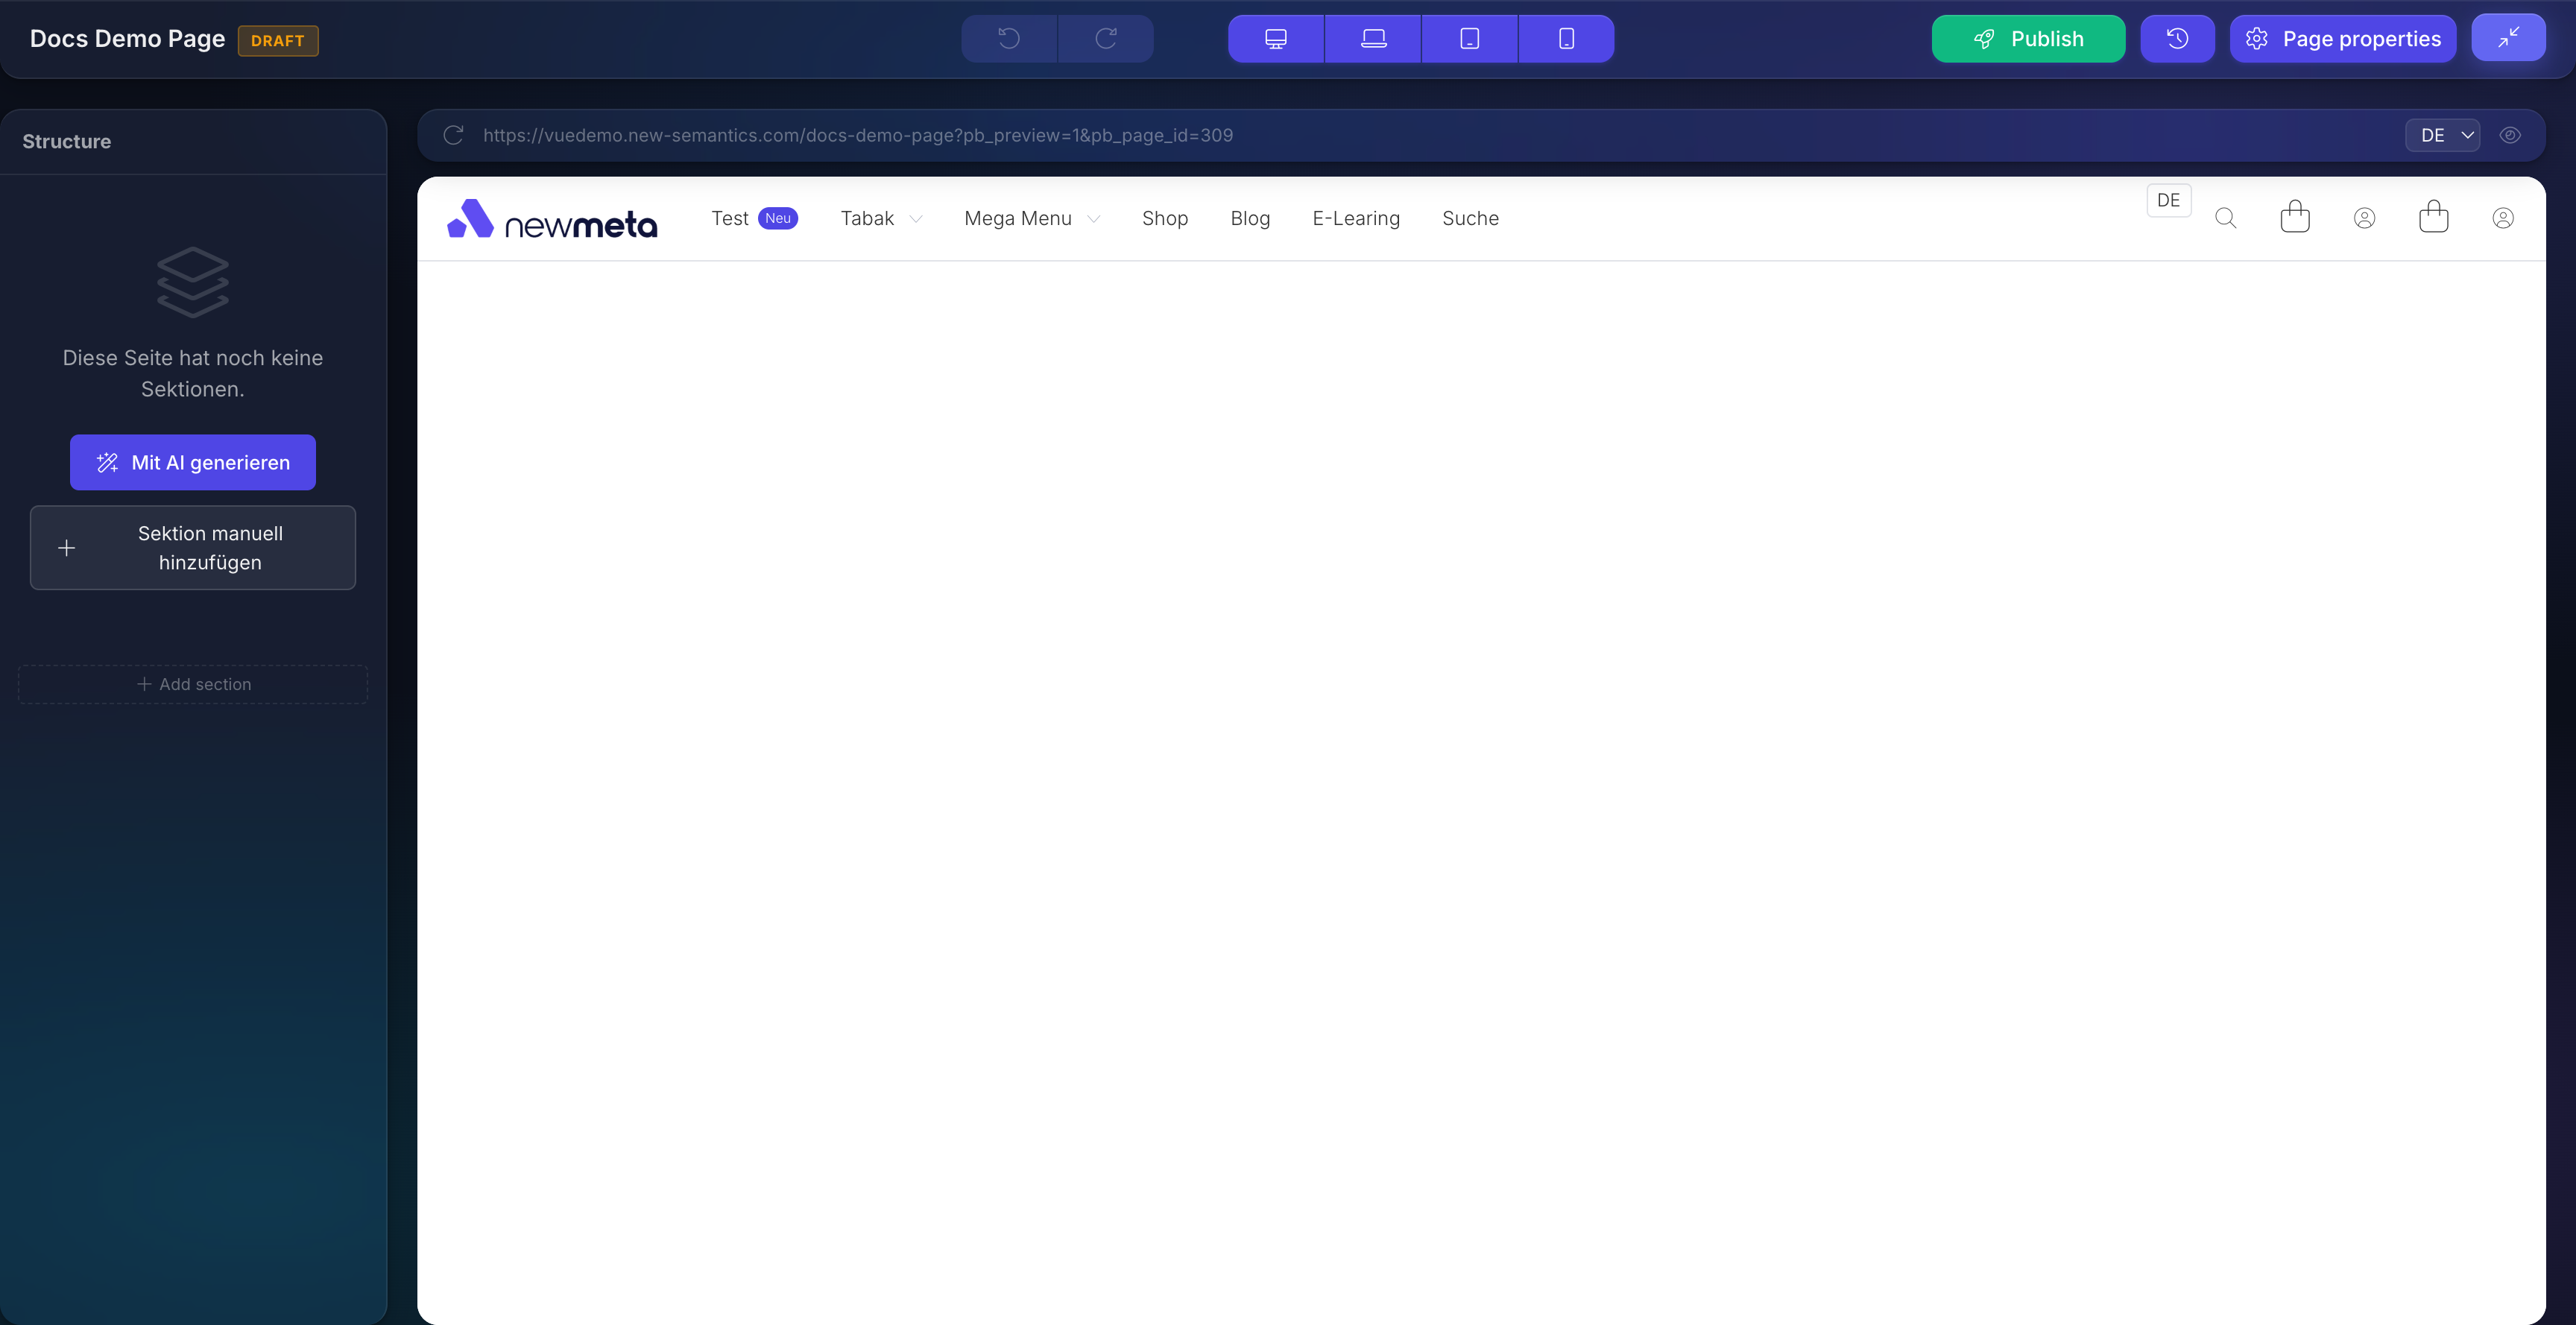
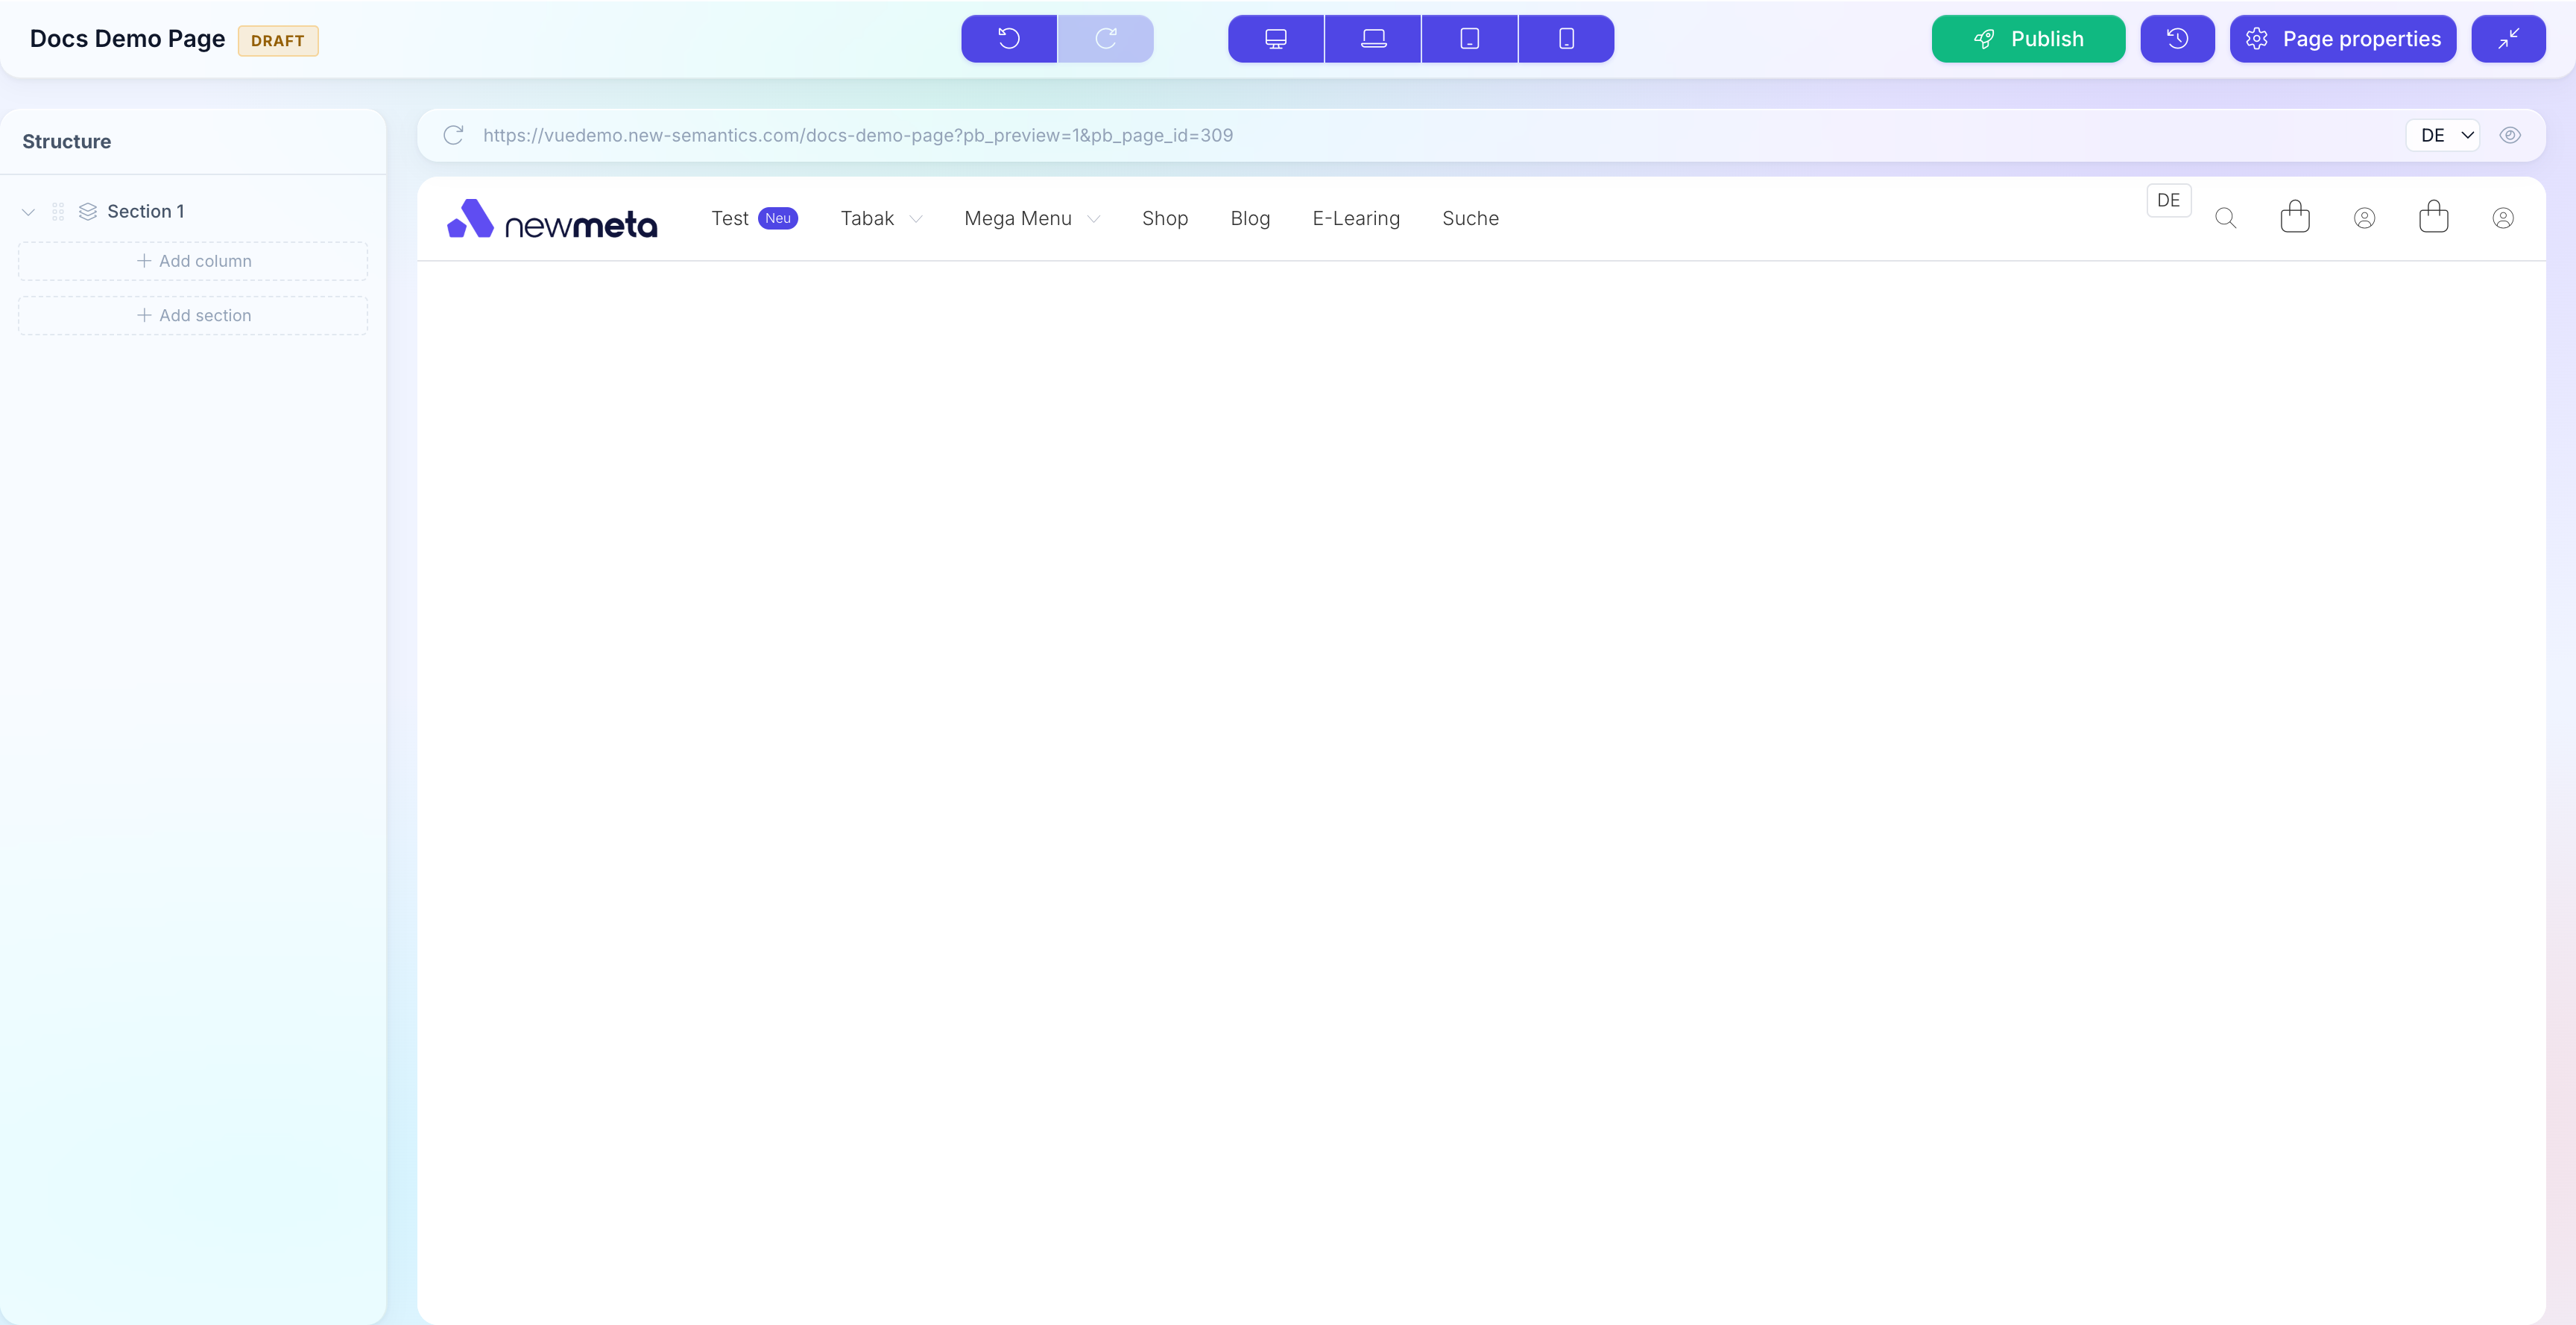
4. Add your first Row
Click Add Section in the empty state (or the +-icon in the structure tree). Pick a layout — a single Column spans the full width; a two-column Row splits it 50/50.
For this tutorial, pick the single-column layout.
5. Add a Text Widget
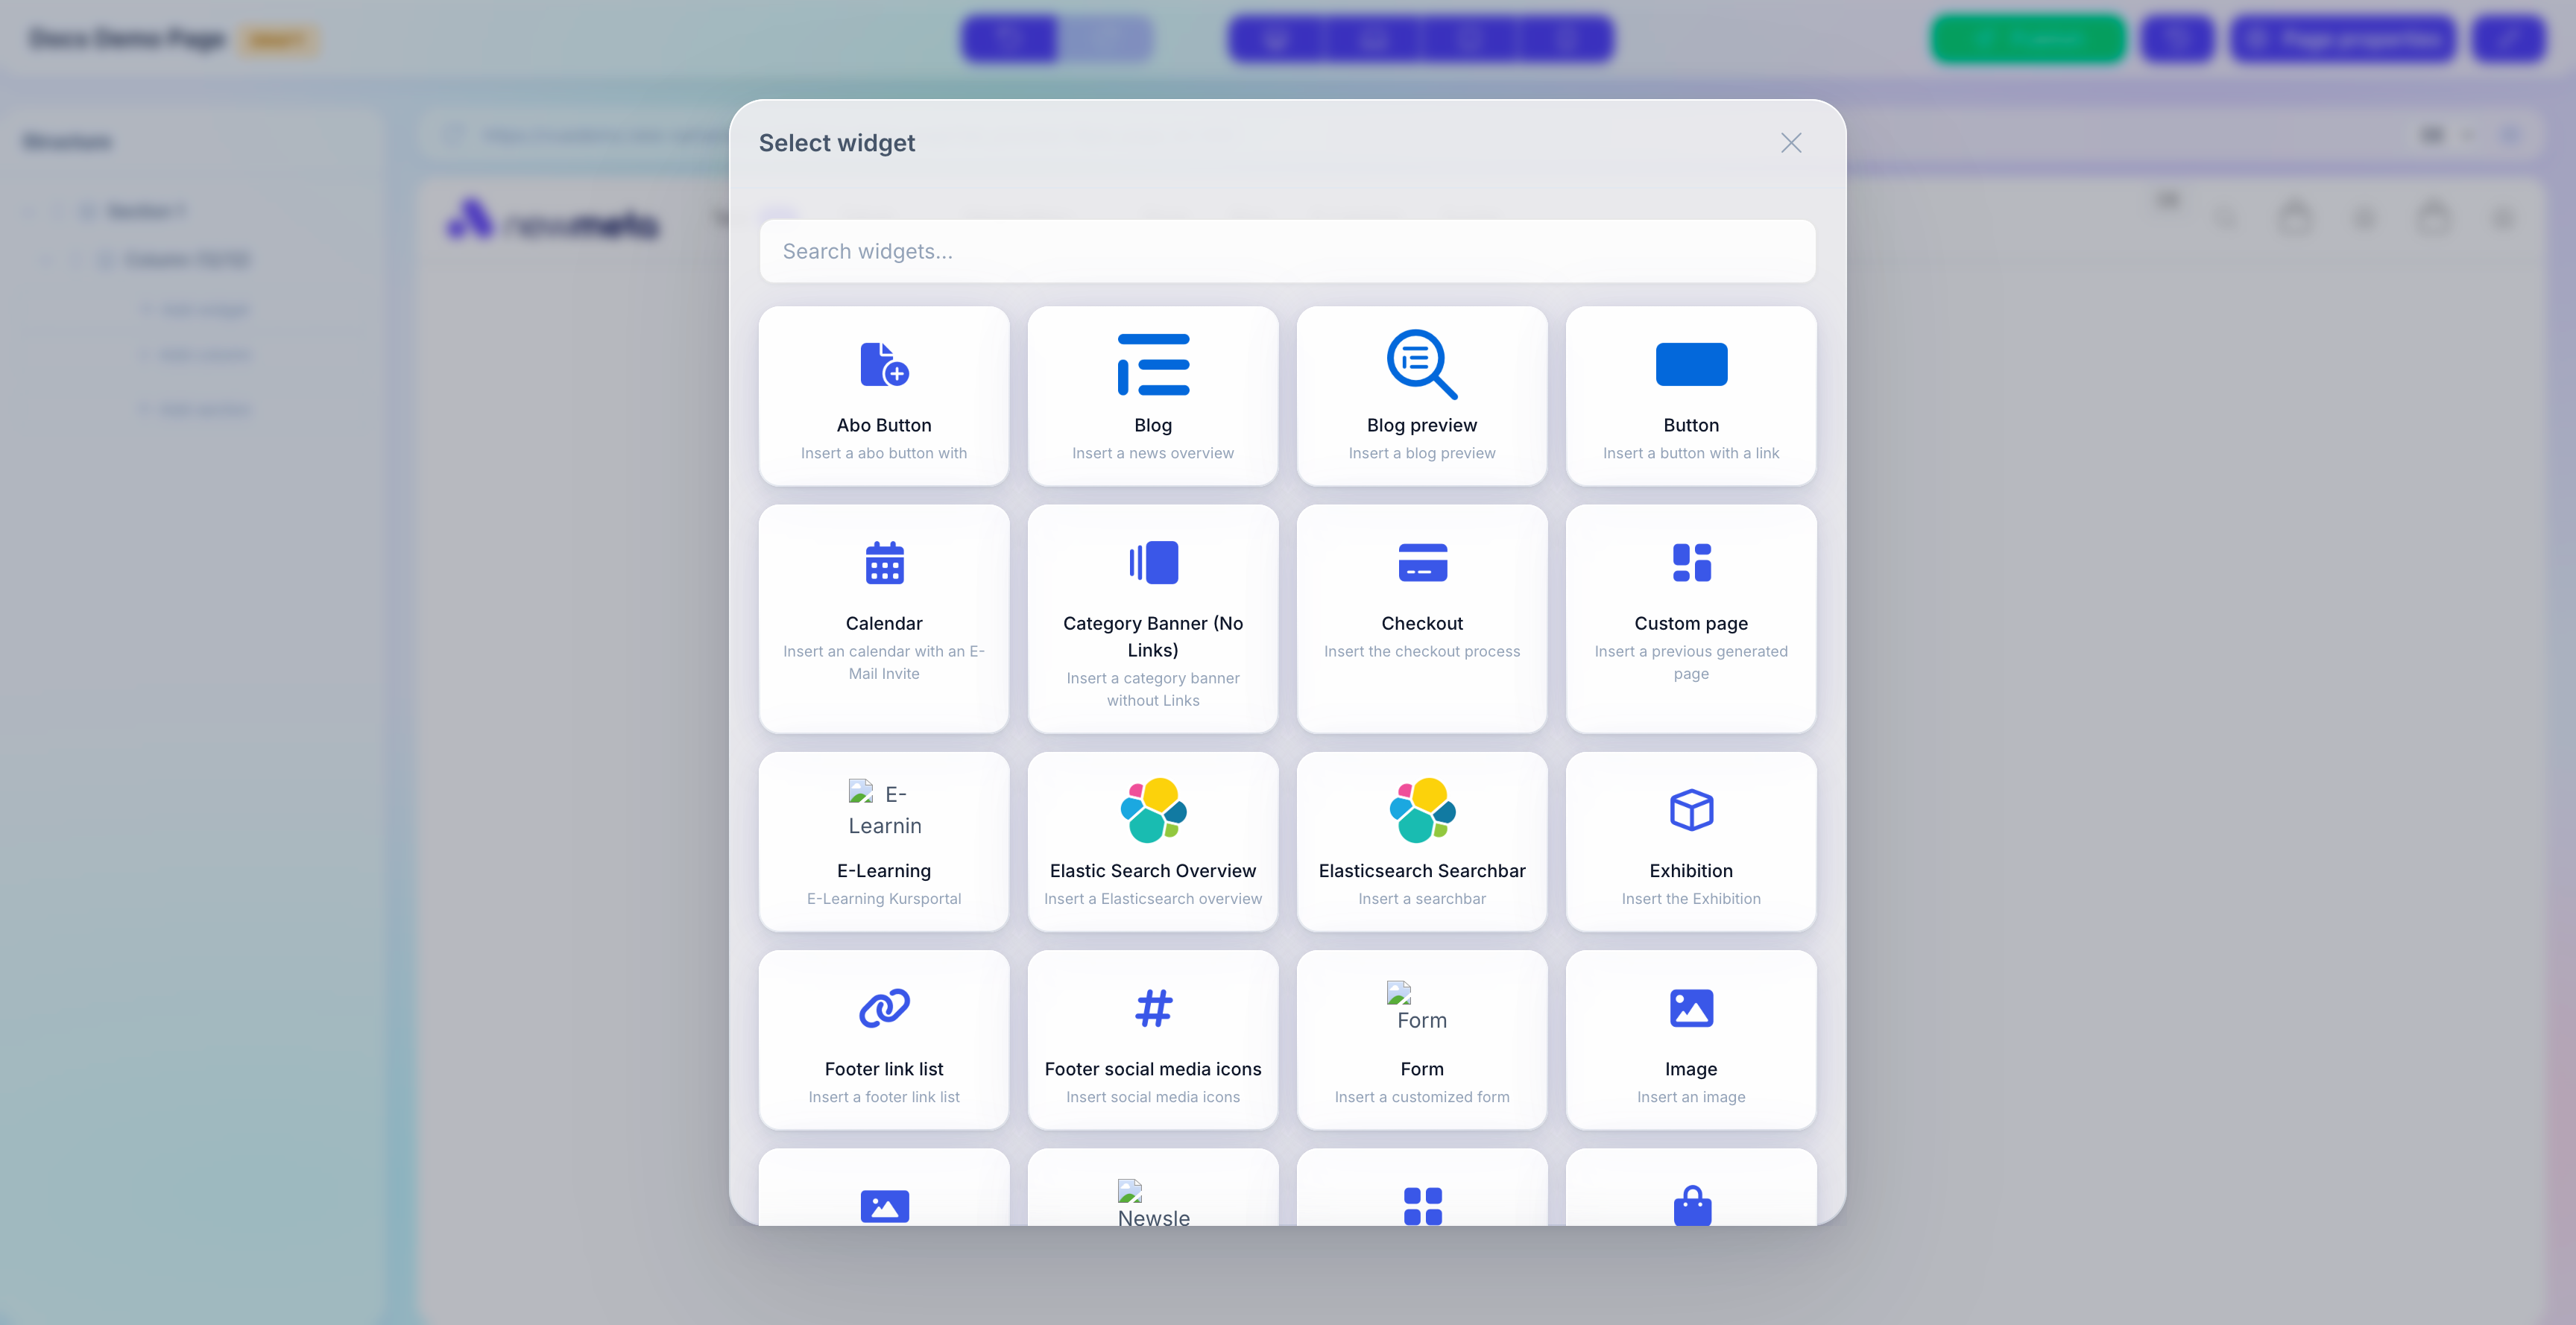
Click the + inside your new Column. The Widget Picker opens.
Find the Text widget and click it.
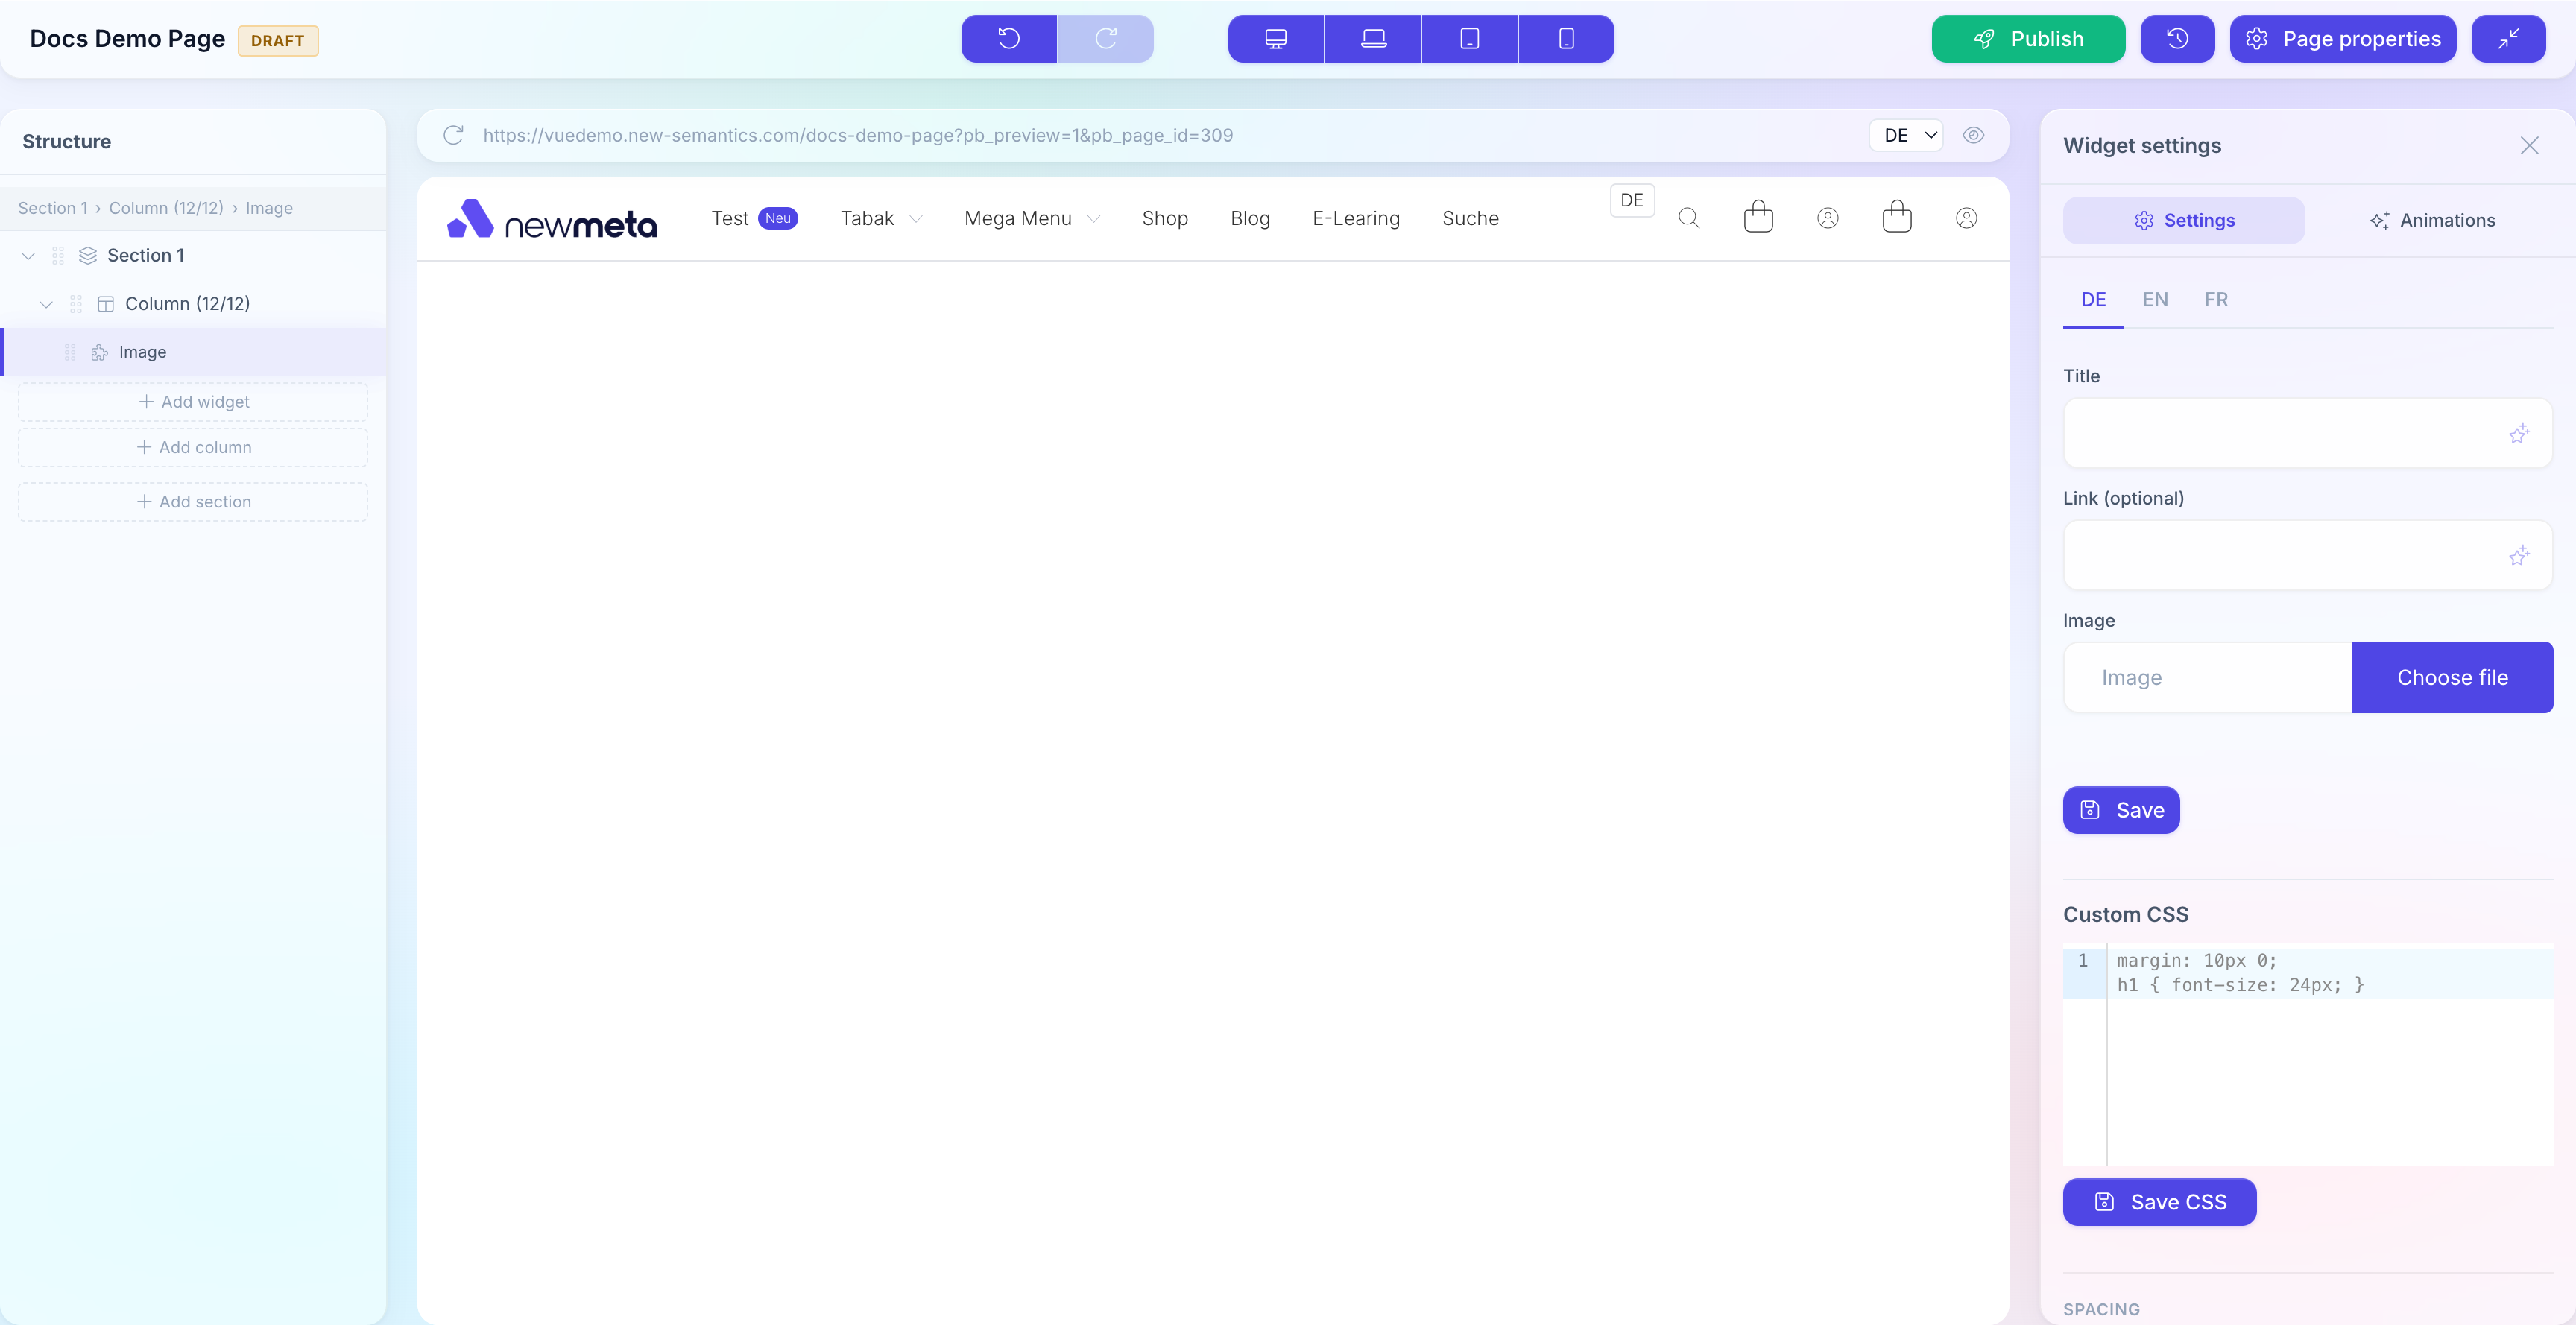
The Widget appears in the Column, and the Properties Panel opens on the right. Fill in the title and body text, then click Save in the Properties Panel.
6. Add an Image Widget
Click the + below your Text Widget. In the Widget Picker, pick Image. Click into the image field in the Properties Panel — the Media Manager opens. Pick an existing image or upload a new one, then click Save.
7. Preview the page
The center pane is a live preview. Click the Desktop, Laptop, Tablet, Mobile buttons in the top bar to see how your page looks on each screen size.

8. Publish the page
The top bar shows a DRAFT badge — your changes are not live yet. Click Publish.
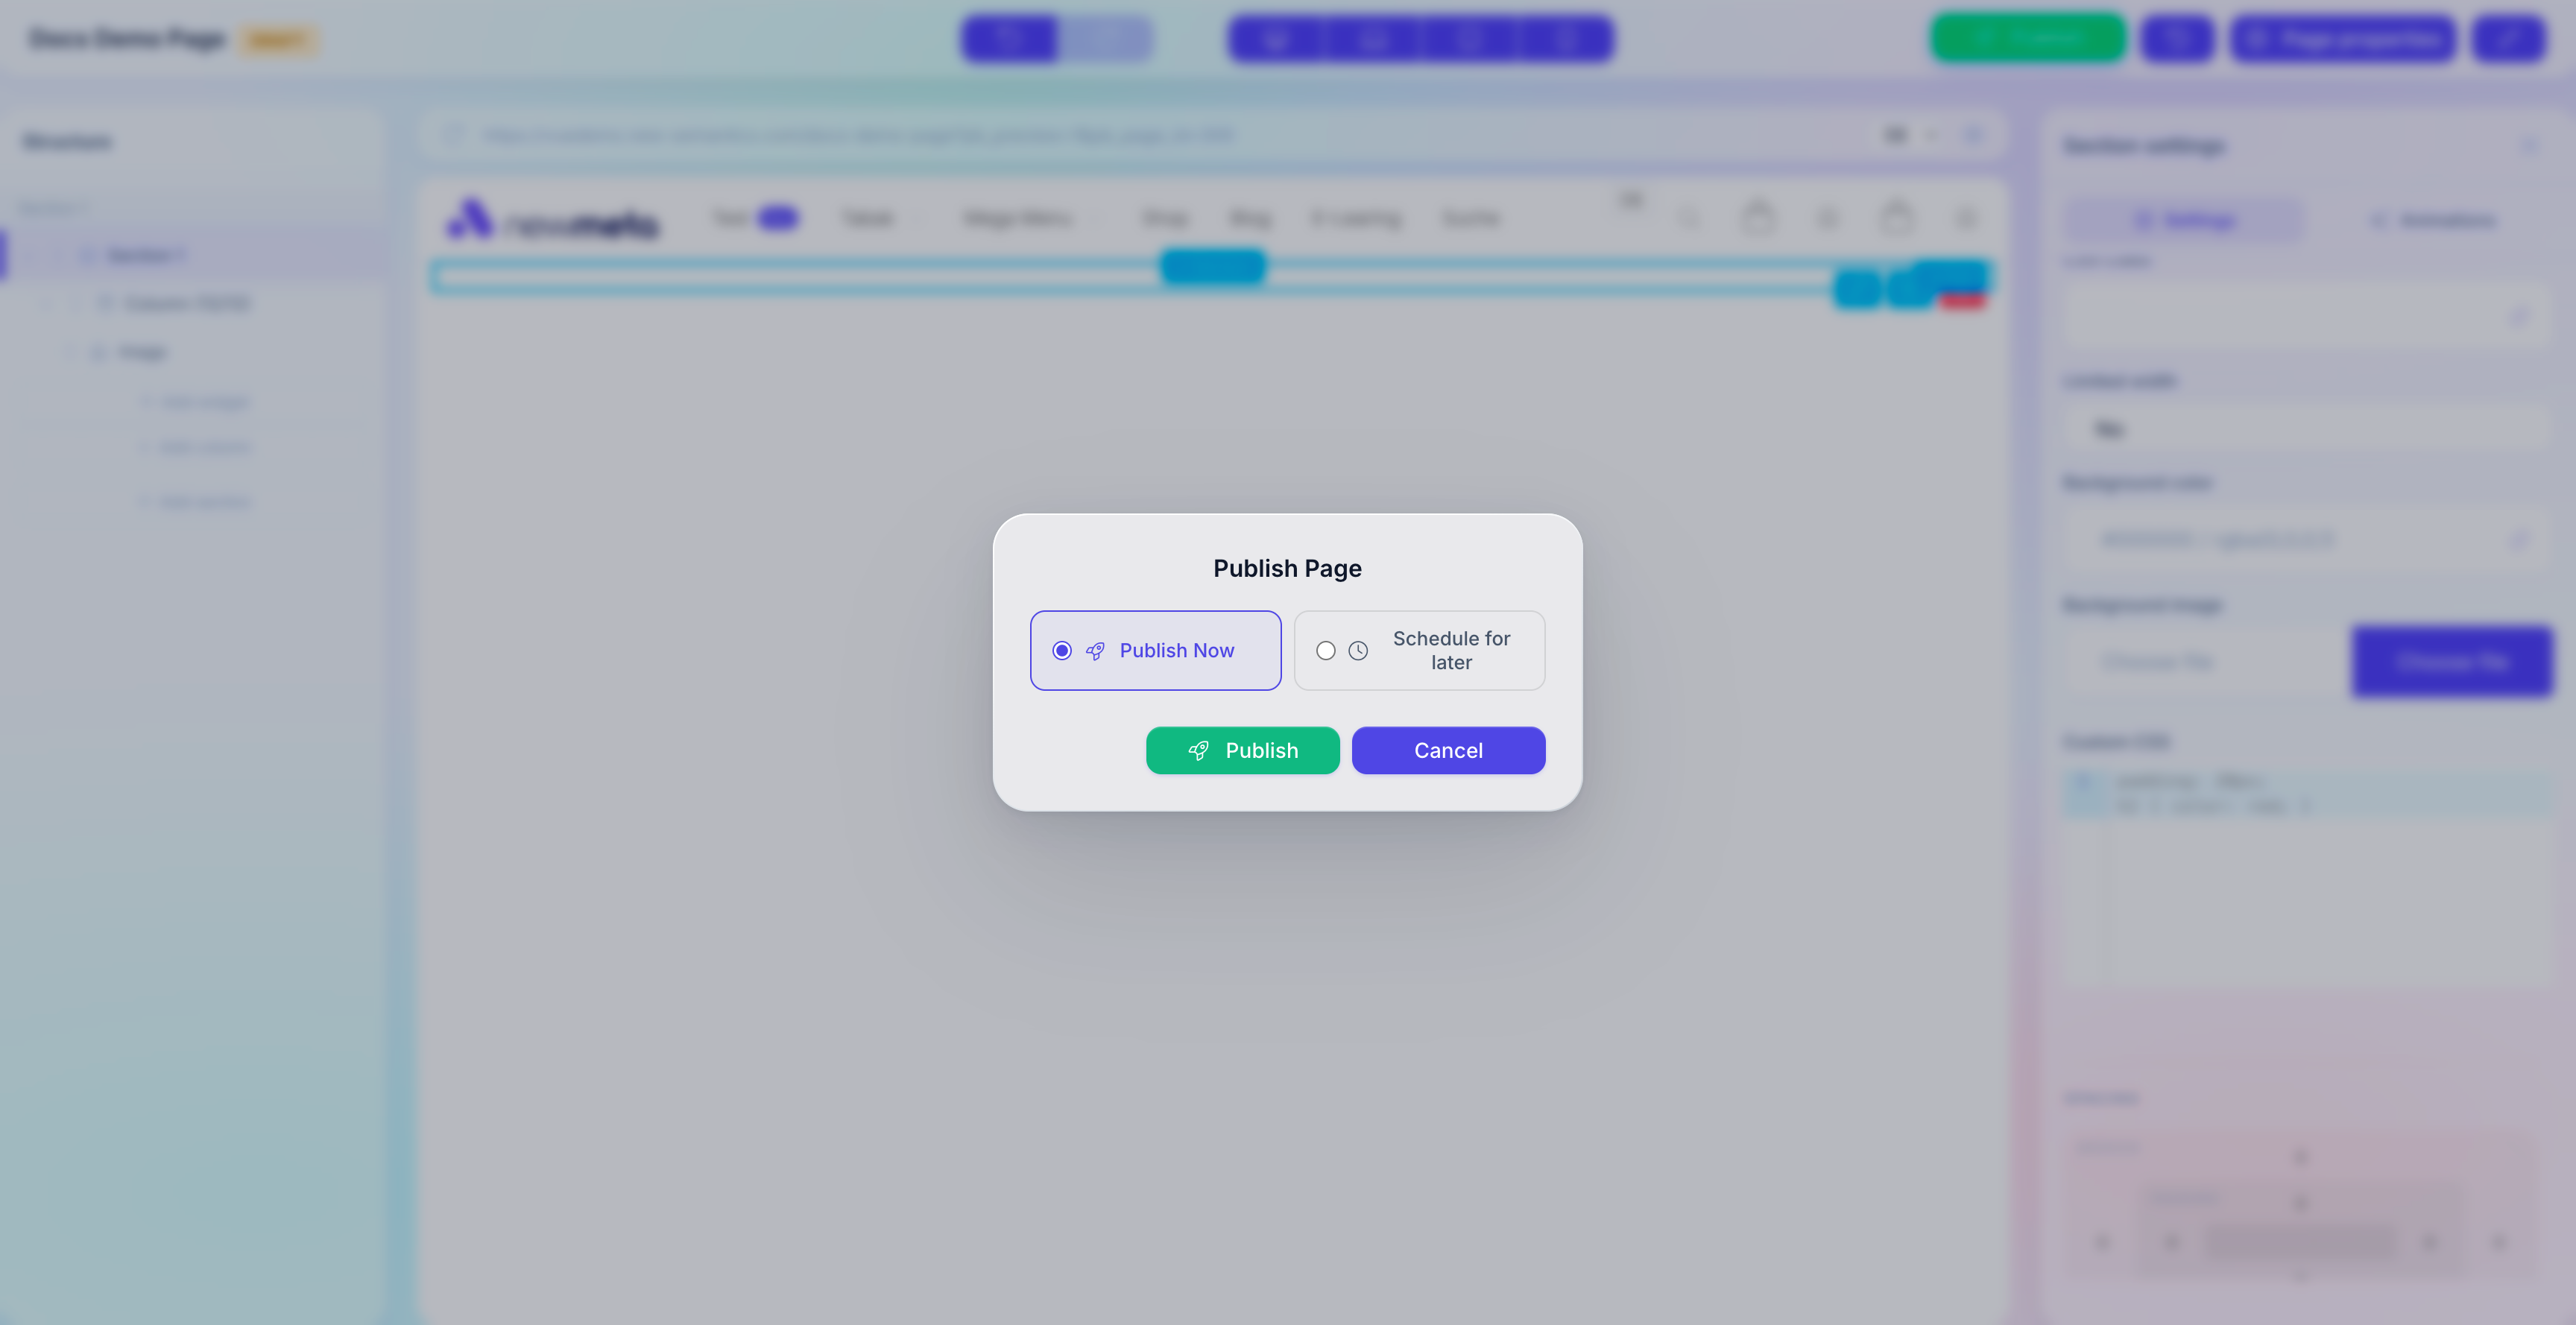
In the dialog, select Publish now and click Publish.
The badge disappears. Open /<your-identifier> in a new browser tab — your page is live.
What you've learned
- How to create a page from Page Management.
- How to open the Pagebuilder for a page.
- How to add a Row, a Column layout, and two Widgets.
- How to switch between breakpoints.
- How to publish a Draft.
See also
- Place and configure Widgets — Widget catalog and settings.
- Rows, Columns, and responsive layout — structure and breakpoints.
- Drafts, Publishing, Versions — state model and scheduling.
- Pages & Pagebuilder overview
- Menu Editor — link the new page from your main navigation.
- Media Manager — manage images before you add them to Widgets.