
Create and edit blog posts
Write a new blog article with title, text, image, category, and SEO metadata, or edit an existing one.
Prerequisite: You have at least one blog category set up. If not, read Manage blog categories first.
Create a new post
- In the sidebar, click News.
- Click New entry (top right).
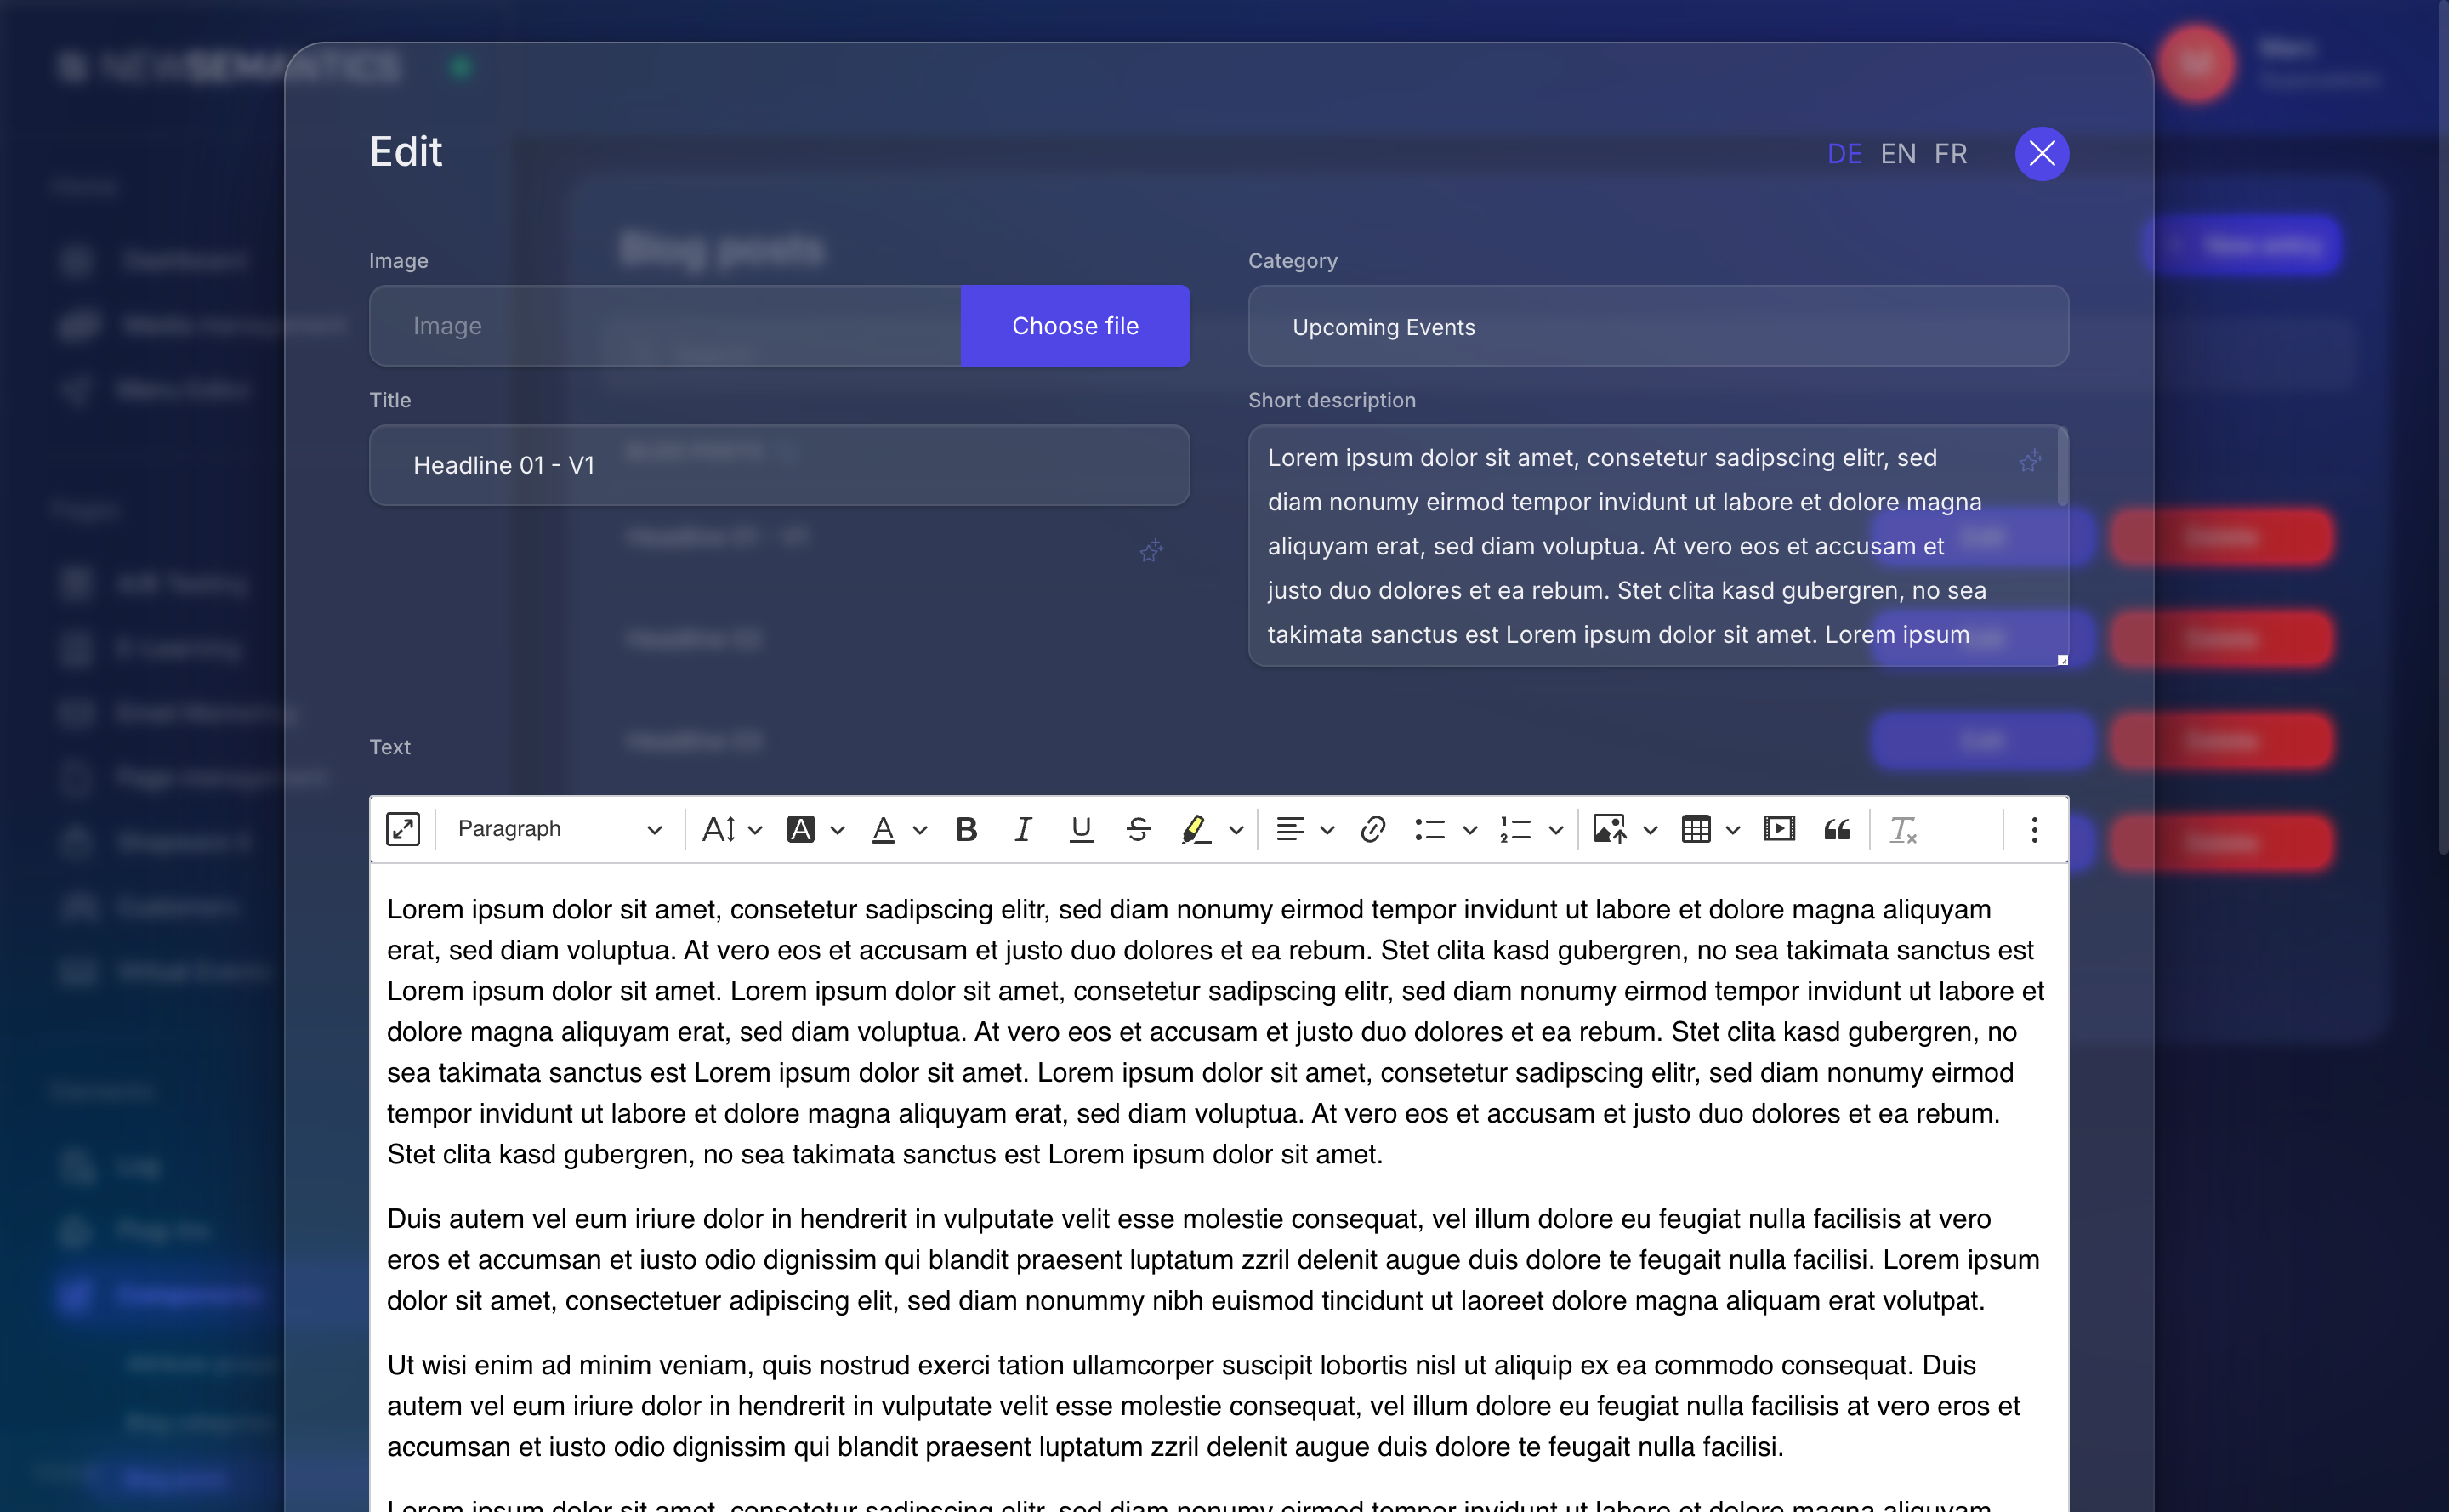
- Fill in the fields in the modal (see below).
- Click Save.

The fields
| Field | Required | Purpose |
|---|---|---|
| Image | yes | Post hero image. Opens the Media Manager. |
| Category | yes | Dropdown from News Categories. |
| Title | yes | The post title, also used as <h1>. |
| Short description | yes | 1–2 sentence teaser for the overview list and the OpenGraph share card. |
| Text | yes | Main body text, edited in CKEditor. Supports headings, lists, links, images, embeds. |
| URL-Rewrite | yes | URL slug. Lowercase, hyphens, no umlauts. Published URL is /news/<slug>. |
| Meta-Tags | optional | Comma-separated SEO keywords. |
| Meta-Description | optional | SEO meta description (≤160 characters). Falls back to Short description if empty. |
Rich-text formatting
The CKEditor toolbar offers headings (H2, H3), bold, italic, lists, links, and the Media Manager for inline images. Avoid H1 inside the body — the CMS adds an H1 from the post title.
Edit an existing post
- In the News list, click the Edit (pencil) button on the row.
- Change any fields.
- Click Save.
Manage language variants
The edit modal has a language-tab row at the top. Click a language to switch. Every language-specific field (title, text, slug, meta) can be different per language.
New language starts empty
When you click a language tab that has no content yet, the fields are empty. Fill them in and click Save to create the translation.
The image and category are shared across all languages — you only pick them once.
Set the publication date
Posts default to the time of creation. If you want to pre-date or back-date a post, open the News list, click Edit, scroll to Published at (if visible), and set the timestamp.
Where the date shows up
The publication date drives sort order in the overview and the <time> element on the post page. It does not hide the post in the past or future — posts are live the moment they are saved.
Delete a post
In the News list, click the red Delete button on the row. Confirm once.
Deletion is permanent
There is no trash bin. If you are unsure, change the category to a "hidden" one you do not render, rather than delete.
Duplicate a post
Currently there is no duplicate button for blog posts. Workaround: open the post, copy the Text field into your clipboard, create a new post, paste.
See also
- Blog overview — how the module fits in.
- Manage blog categories
- Media Manager — upload post images.
- Place and configure Widgets — the Blog and Blog preview widgets.