
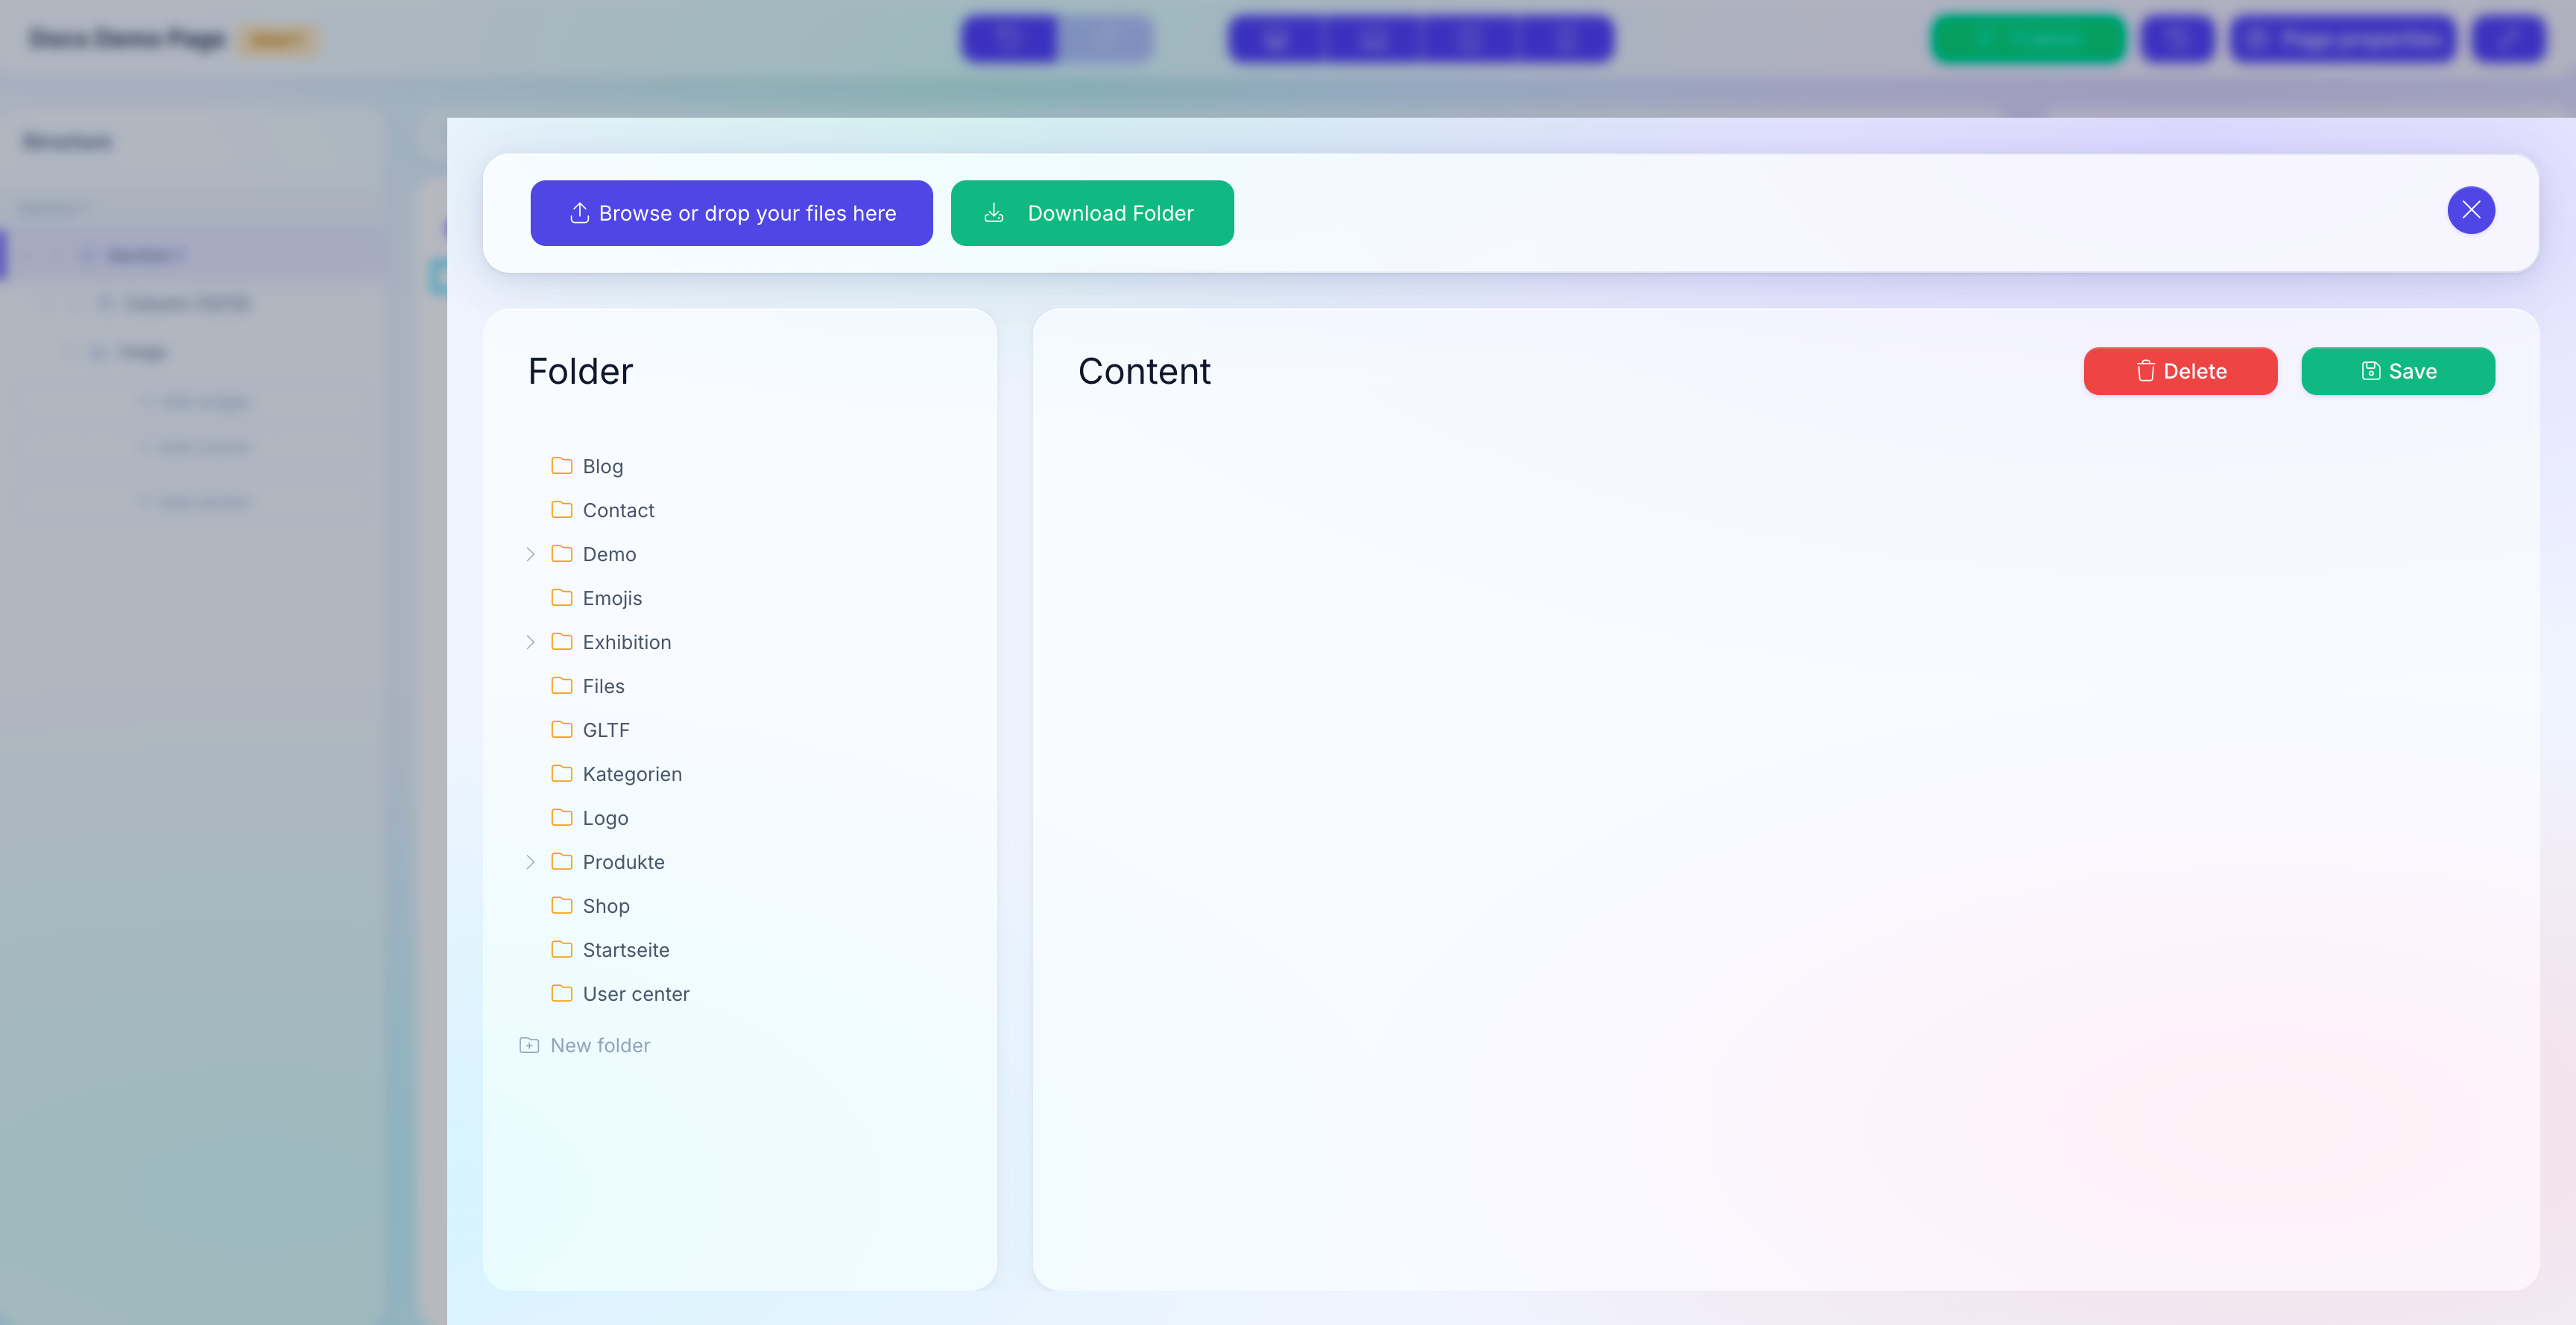
Organize folders and files
Create folders, rename files, delete old assets, export a folder as a ZIP. This page covers every housekeeping task inside the Media Manager.
Prerequisite: You need the mediamanager_mediamanager_edit permission for every action on this page. View-only users can browse but cannot change anything.
Folders
Folders are managed in the tree on the left. The tree is lazy-loaded: sub-folders appear the moment you expand a parent.
Create a folder
- In the tree, right-click the parent folder where the new folder should live. Use root if you want a top-level folder.
- Pick New folder from the context menu.
- Type the folder name and confirm.

The new folder appears immediately in the tree. A tree_id (6-character random string) is generated under the hood; you do not need to care about it.
Rename a folder
- Right-click the folder in the tree.
- Pick Rename.
- Enter the new name and confirm.
Renaming a folder does not change the physical disk paths of the files inside. Every file's URL stays stable — only the visual label in the tree changes. Existing Widget references keep working.
Delete a folder
- Right-click the folder.
- Pick Delete.
- Confirm the dialog.
Deleting a folder does not delete the files inside
Folder delete removes the tree entry only. Files that were inside the folder become orphans — still on disk and in the database, but no longer visible in the tree. Ask your administrator to reassign or purge them. To fully remove files, delete them first (see below), then delete the folder.
Move a folder
Folder move is not supported in the UI today. If you need to reorganize heavily, export the folder as a ZIP (see below), re-upload it under the new parent, then delete the old tree entry.
Files
Files live inside folders. Every action is performed from the file grid on the right.
Rename a file
- Select the file in the grid (click the thumbnail).
- Click Edit in the file details panel that appears.
- Change the Title (human label) and Filename (disk name + extension).
- Click Save.
Changing the filename rewrites the URL
Every Widget that references this file keeps its stored ID, but the new filename is what lands in the public URL. If another system (external link, search engine, caching layer) has the old URL cached, it will 404 until the cache refreshes. Rename only before the file is used in production.
Replace file contents
Keep the same file ID and URL, but swap the binary contents (e.g. upload a corrected PDF):
- Select the file in the grid.
- Click Replace.
- Pick the new file in the OS file picker.
The ID stays; the binary contents are overwritten; the Widget references update automatically. Cached URLs may still serve the old file for a few minutes depending on your CDN.
Delete one or more files
- Tick the checkbox on every file you want to delete (top-left corner of each thumbnail).
- Click Delete at the top of the file grid.
- Confirm the dialog.
The delete is immediate and permanent — the file is removed from disk and from the media_items table. A media.deleted webhook fires for each file; external systems listening to it get notified.
Delete is not reversible from the UI
There is no undo, no trash, no recycle bin. Only your database backup can restore a deleted file. Use Download Folder to export a snapshot before a large delete.
Move a file to another folder
Drag the file's thumbnail onto a folder in the tree. Release when the target folder highlights. The file moves: the tree entry changes to the new parent, but the physical disk path and the URL stay the same.
If your drag-and-drop does not work (some browser + OS combinations are finicky), fall back to the ZIP round-trip: export the folder, re-upload into the new parent, delete the old files.
Export a folder
Click Download Folder at the top of the Media Manager while the folder is selected. A ZIP is built server-side and the download starts immediately.
The ZIP contains:
- The full folder tree as on-disk directories.
- Every file with its stored filename.
- A
map.jsonmanifest that maps each file to its Media Manager ID and virtual path.
You can re-import the ZIP via the normal upload flow; the map.json keeps the IDs consistent so Widget references still resolve. See Upload files for the import rules.
Large folder exports
The PHP memory limit is raised to 1024 MB for the export, which covers most cases. For folders over roughly 5 GB, ask your administrator to run an out-of-band export.
See also
- Media Manager overview — folders, file types, permissions.
- Upload files — first step before you organize.
- Use media in Widgets — how Widgets reference files.